
How to Remove Glued-Down Wood Flooring Without Destroying Your Subfloor
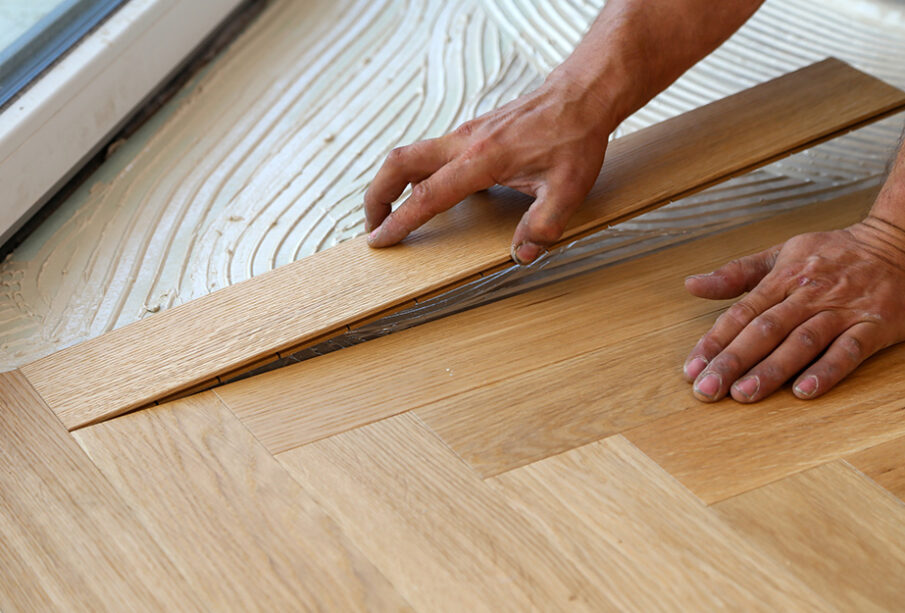
Among all residential demolition projects, stripping glued-down hardwood or engineered wood flooring ranks among the most physically demanding and deceptively delicate tasks a homeowner or contractor can tackle. When flooring is nailed down, pulling planks involves little more than shearing standard fasteners out of wood joists. Glued installations are an entirely different beast. Modern flooring adhesives, predominantly moisture-curing polyurethanes and modified silane polymers, are engineered to form a permanent, structural bond. The adhesive often possesses higher tensile shear strength than the wood planks it holds, and in many cases, a stronger grip than the surface fibers of the subfloor underneath.
Attack this job with brute force and the wrong tools, and you will quickly turn an afternoon flooring replacement into an expensive framing or masonry repair. On a concrete slab, aggressive prying can gouge deep divots and cause surface spalling. On a plywood or oriented strand board (OSB) subfloor, aggressive leverage will tear away structural plies, leaving gaping craters that demand total subfloor replacement. Successfully removing glued-down flooring without wrecking what lies beneath comes down to methodical prep work, controlling your angle of attack, and using mechanical advantages to shear the adhesive bond rather than fracturing your subfloor.
Identifying Your Subfloor Type and Adhesive Chemistry
Before swinging a sledgehammer or renting heavy machinery, you must determine what sits beneath the wood and what kind of adhesive holds the floor in place. The physical properties of your subfloor dictate how much abuse it can tolerate, and the chemical composition of the adhesive determines how it will release.
If your home is built on a concrete slab, your primary objective is preventing surface spalling, which occurs when the glue pulls away chunks of concrete aggregate along with the bottom of the wood plank. Concrete can withstand substantial downward compression, but it has relatively low tensile pull strength at its unsealed top surface.
If your floor sits over an elevated wooden framing system, you are dealing with either tongue-and-groove plywood or OSB. Plywood consists of cross-laminated wood veneers glued together, while OSB is made of compressed wood flakes bound with resin. Plywood handles edge prying somewhat better than OSB, but both will tear apart layer by layer if you pry upward with a standard wrecking bar.
Adhesive chemistry also dictates your strategy. Modern polyurethanes remain slightly elastomeric, meaning they retain a tough, rubbery flexibility that resists simple shattering. Older installations might use brittle water-based resins, which pop loose more easily under impact.
A critical safety consideration applies to homes built before the mid-1980s: if you pull up a plank and discover a thick, tar-like black adhesive underneath, stop work immediately. This material is likely black cutback adhesive, which routinely contained high percentages of asbestos fibers. Scraping, grinding, or sanding cutback adhesive releases microscopic asbestos fibers into your living space, presenting severe health risks. If you suspect cutback adhesive is present, submit a physical scraping to an accredited laboratory for testing before proceeding with any mechanical removal.
Essential Tools for Controlled Demolition
Relying on a standard flat bar and a claw hammer will exhaust you within thirty minutes and virtually guarantee subfloor damage. Removing bonded flooring safely requires dedicated tools designed to alter leverage and mechanical force.
-
Circular Saw with Depth Adjustment: A rugged, job-site circular saw fitted with an inexpensive carbide demolition blade or specialized flooring blade. You will use this to cut grid lines directly into the wood planks.
-
Heavy-Duty Floor Scraper or Spud Bar: A long-handled, heavy-gauge steel pry bar featuring a wide, beveled scraping blade. The extra handle length provides low-angle leverage without forcing you onto your hands and knees.
-
Rotary Hammer or Demolition Hammer with a Tile/Scraper Chisel: An SDS-Plus or SDS-Max rotary hammer equipped with a wide, flexible floor-scraping attachment. This mechanical tool drives a flat steel blade forward through vibratory impact, shearing the glue line horizontally rather than prying it vertically.
-
Heavy-Duty Heat Gun or Infrared Heater: Direct thermal energy softens elastomeric polyurethane adhesives, turning a stubborn rubbery grip into a pliable, easily scraped gum.
-
Safety Equipment: Heavy leather work gloves, impact-rated safety glasses, professional knee pads with gel inserts, and a particulate respirator rated N95 or higher to keep wood and dry adhesive particulates out of your lungs.
The Pre-Demolition Cut: Sectioning the Floor into Grids
The single most common mistake during demo is trying to pry up full four-foot to six-foot planks in continuous strips. When you pull up on the end of a long plank, the wood acts as a giant lever arm. Because the glue holds fast along the length of the board, the upward force does not peel the glue; instead, it lifts the top layers of the plywood subfloor or snaps the hardwood board into jagged, dangerous splinters.
The secret to clean removal is cross-cutting the entire floor into small grids. By cutting the wood into small squares, you isolate the surface area of each adhesive bond and relieve the lateral tension holding the floor together.
Start by measuring the precise thickness of the flooring you want to remove. A typical solid hardwood floor is three-quarters of an inch thick, while engineered planks generally range from three-eighths to one-half inch. Adjust the blade depth of your circular saw so that the teeth cut through approximately ninety-five percent of the flooring thickness, stopping roughly one-thirty-second of an inch shy of the subfloor.
If you are working over a concrete slab, cutting slightly through the wood will simply dull your saw blade quickly against the masonry. If you are working over a wood subfloor, cutting too deep is disastrous: scoring the plywood subfloor with a spinning circular saw blade structurally weakens the subfloor panels, creating dangerous soft spots between floor joists.
Once your blade depth is locked and verified on an edge plank, cut parallel lines across the entire room, perpendicular to the direction the planks run, spacing your cuts roughly eight to twelve inches apart. Next, make a series of cuts running parallel with the planks, creating a checkerboard grid of small wood squares.
Breaking the continuous boards into eight-inch tiles accomplishes two vital things: it severs the tongue-and-groove interlocking joints that fight your pry bar, and it reduces the bond surface of each individual piece, allowing your scraping blade to slide underneath and pop the wood loose with minimal upward deflection.
Prying Techniques Tailored to Your Substrate
Once the grid is cut, the actual lifting process begins. How you direct your physical effort depends entirely on whether your foundation is wood or concrete.
Preserving Plywood and OSB Subfloors
When working on a wood subfloor, your absolute priority is maintaining a low angle of attack. If you drive a pry bar into the seam and immediately reef the handle backward toward a vertical position, the tip of the bar digs downward into the plywood face, punching through the top veneer and ripping it upward.
Insert your scraper blade into a perimeter expansion gap or a cut seam at an angle of roughly fifteen to twenty degrees relative to the floor. Tap the end of the tool with a dead-blow mallet to drive the beveled edge between the bottom of the flooring plank and the top of the adhesive layer. Instead of levering the handle backward, push the tool forward horizontally. You want the sharp edge of the blade to slice through the adhesive layer like a wedge, shearing the chemical bond horizontally.
If you encounter an intensely stubborn patch where the polyurethane refuses to give, do not force the lever. Grab your heat gun and warm the surface of the wood plank for sixty to ninety seconds. The heat will conduct through the thin engineered wood, softening the underlying polyurethane adhesive. Once warm, the glue becomes pliable, allowing the section to slide off the subfloor cleanly without pulling wood fibers with it.
Always pay attention to the orientation of your subfloor sheets. Plywood has a directional face grain. Whenever possible, drive your scraper parallel to the grain of the subfloor’s top veneer. Driving your blade perpendicular to the grain increases the risk that the tool will snag on a veneer edge and peel a massive strip of the subfloor sheet up with the plank.
Protecting Concrete Slabs from Gouging and Spalling
Concrete requires a different balance of power and angle. While you do not have to worry about peeling wood veneers, using a manual floor scraper on five hundred square feet of glued-down hardwood over concrete is exhausting and inefficient.
The professional standard is an SDS-Max rotary hammer fitted with an angled, flexible floor stripper blade. These six-inch-wide steel blades bolt to a heavy steel shank. The reciprocating hammer action drives the blade forward rapidly, letting the machine do the heavy work.
Keep the tool low to the floor, holding the blade at a shallow pitch so it skates across the concrete surface rather than biting into it. If the tool is held too steep, the hardened steel edge will act as a cold chisel, carving gouges and divots into the slab.
When the glue bond to concrete is stronger than the concrete itself, you may notice small flecks of concrete sticking to the back of the lifted wood. If you see deep chips or divots exceeding one-eighth of an inch forming across the slab, slow your pace, reduce the impact speed of the demo hammer, and lubricate the seam with localized heat to loosen the urethane before driving the blade forward.
Stripping the Remaining Adhesive Residue
Once every piece of wood is removed and swept into trash bins, your work is only half complete. You will be left with a landscape of ridged, hardened adhesive ridges mapping out the old trowel patterns across the entire room. You cannot lay tile, floating vinyl plank, or new hardwood over this uneven topography; your subfloor must be flat, smooth, and clean.
On concrete slabs, mechanical grinding is the fastest, cleanest approach. Rent an upright rotary floor maintainer or concrete floor grinder fitted with diamond-tipped scraper segments, commonly referred to as a Diamabrush attachment. These diamond blades rotate flat against the slab, mechanically shaving off the elastomeric polyurethane and surface mastic without destroying the underlying slab. Pair the grinder with an industrial dust extractor vacuum equipped with a HEPA filter to keep the workspace clean and safe.
On plywood or OSB subfloors, aggressive diamond grinding is out of the question, as it will chew through the wood subfloor in seconds. Instead, turn to non-toxic, soy-based or citrus-based adhesive removers. Apply the gel-based stripper across the adhesive ridges with an inexpensive paint roller and allow it to sit for the manufacturer-recommended dwell time, typically thirty to sixty minutes. The natural solvents break down the polymer cross-links in the glue, turning the brittle ridges into a soft slurry.
Once softened, scrape the residue up using a handheld six-inch stiff putty knife or a manual floor scraper. Avoid flooding the subfloor with water-based wash solutions or harsh mineral spirits during cleanup. Excess water will cause the edges of plywood or OSB panels to swell and buckle, requiring extensive sanding or sheet replacement later. Wipe the subfloor down with lightly dampened towels and allow the wood to dry completely under active air circulation.
Evaluating and Repairing the Subfloor for Your Next Installation
With the flooring and adhesive gone, take the time to run a comprehensive surface inspection before purchasing materials for your next floor.
On wood subfloors, inspect the surface for areas where plies delaminated despite your best efforts. Small, isolated surface tears that are less than one-eighth of an inch deep can simply be skim-coated with a high-strength, polymer-modified floor patch. However, if previous water damage or overzealous prying resulted in deep cratering, soft spots, or broken tongue-and-groove joints between subfloor sheets, that section must be replaced. Cut out the compromised plywood with your circular saw, add two-by-four structural blocking along the exposed joists to support the new edges, and screw down a fresh, matching piece of exterior-grade subfloor plywood flush with the surrounding floor.
On concrete slabs, address any divots, chips, or pop-outs caused by the adhesive pull. Sweep the slab clean, paint a universal concrete bonding agent over the chipped areas, and fill the depressions with a rapid-setting, cementitious feather-finish compound. Use a flat steel finishing trowel to draw the patch perfectly flat with the surrounding concrete perimeter.
Finally, pull a ten-foot straightedge or aluminum level across the entire room in a star pattern. Modern flooring systems generally require a subfloor flatness tolerance of three-sixteenths of an inch over a ten-foot radius. Address any remaining high spots with a belt sander (on wood) or a diamond cup wheel (on concrete), and fill any lingering low dips with leveling compound.
Ripping out a glued-down wood floor is grueling work, but it does not have to ruin your subfloor. By cutting the planks into small stress-relieving grids, keeping your prying angles low and flat, using heat to negotiate with stubborn polymers, and methodically scraping the remaining glue ridges, you protect the structural foundation of your home and leave behind a pristine, level canvas ready for your next flooring installation.


